| |
Bales - Part 1
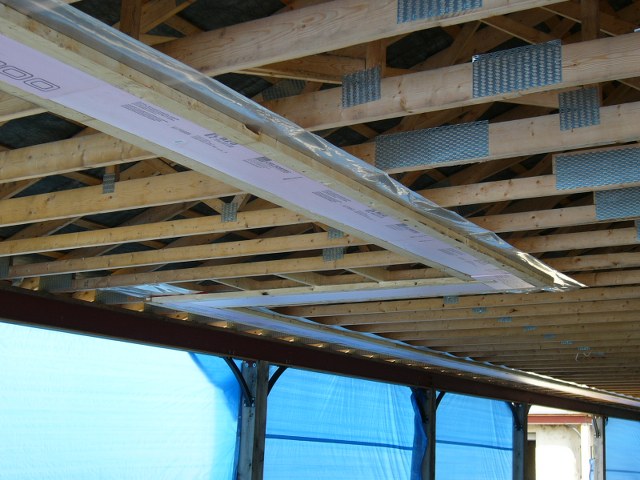
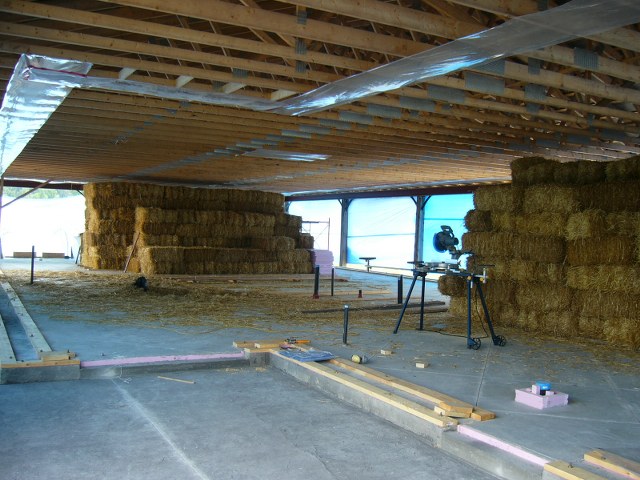
The other concern is moisture getting into your straw. Moisture is either wicked up from the concrete or through the cooling of warm moist air escaping around the plates. This is the only place you want vapour barrier near your straw. Put a layer between the bottom plate and your straw, and either between the straw and the top plate, or the top plate and the trusses (which is what we did).

The next job is to build all of the frames to support your windows and doors. Since our house is compeltely supported by the Techno-Metal posts and steel I-beams, none of our interior walls or the window/door supports carry any load, so they can be relatively simple.
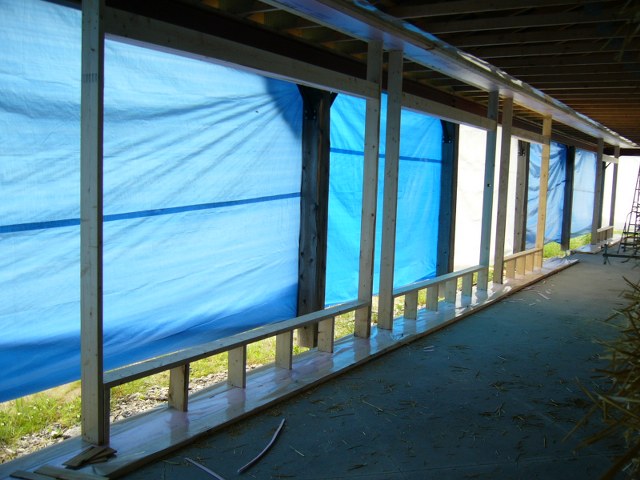
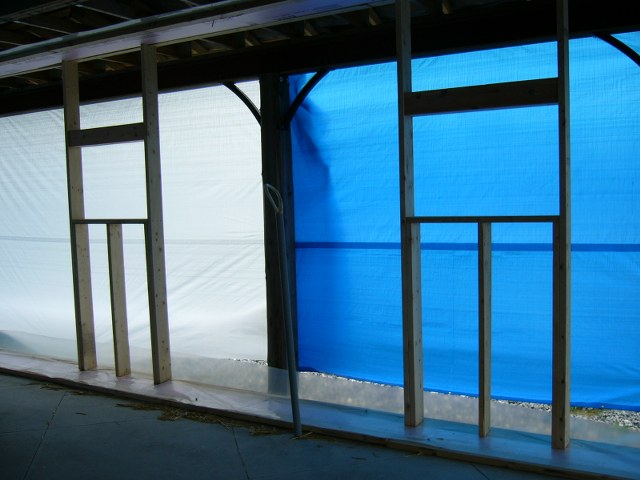

We have BIIIGGGG windows (10'x6')
Doug Featherstone delivered 500 bales to our place in four loads using a honkin' big trailer and his pickup. We eventually used 488, so our estimates were pretty good (we had a bunch left over from the garage just in case).
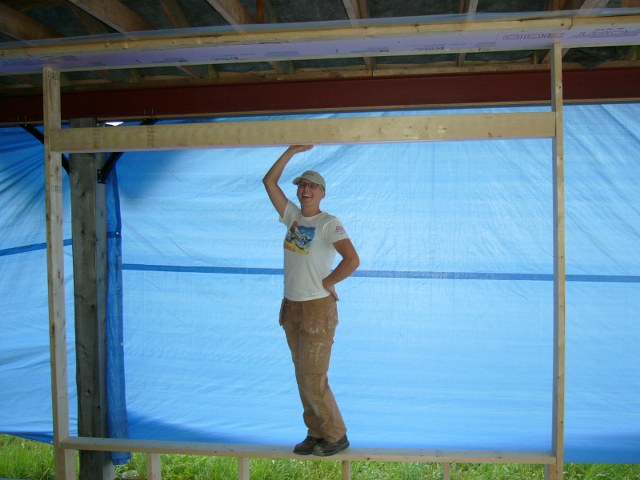
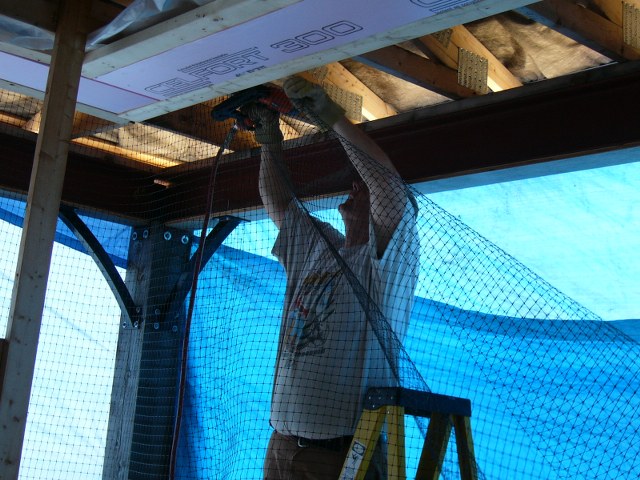
The next step is put up the Tenax plastic mesh up on the outside first. This will eventually help stabilize the bales and the house in general, but in the short term keeps us from inadvertantly heaving our straw bales into the driveway as we stack them.
The trick is to staple the Tenax every 6"-8" or so all along the top, pulling it tight as you go.
Then go along the bottom, pulling it tight again, and staple every 6"-8".
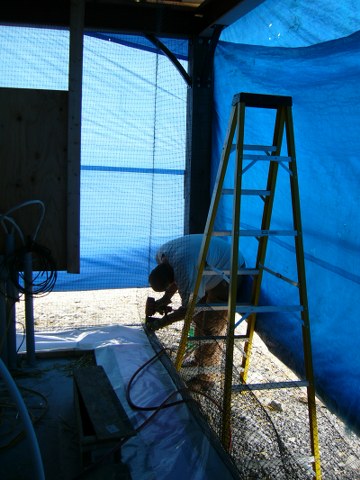
All of that and we haven't stacked a bale yet!