| |
Concrete Part 2
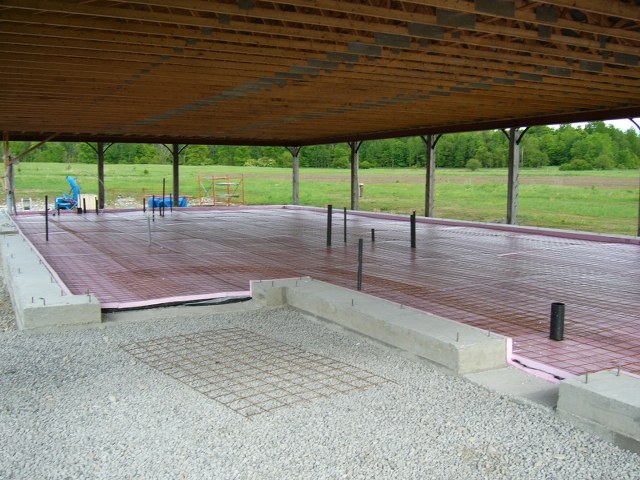
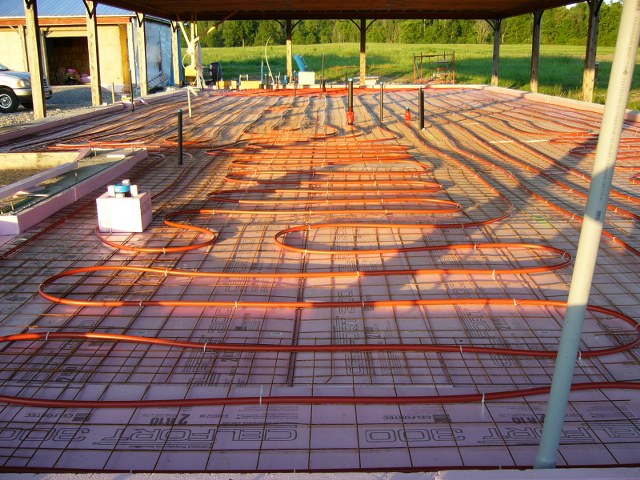
Next was a layer of 2" rigid styrofoam (man that stuff is expensive). On top of the styrofoam goes a 6"x6" steel mesh which performs two functions: the first is to help provide strength to the slab and prevent cracking. The second function is that it is excellent for attaching the radiant floor heating system pipes.
Speaking of the radiant floor system pipe, here you can see the result of several days work. There were 8 pipes, each 250' long. Each pipe has to be the same length (within 10%) so you just can't just lay it out and snip off the extra. The pipes are 7/8" in diameter, and are laid out 16" (or so) on centre. We would lay out the first pipe around the outside of a zone, then the next pipe inside of that one, the next inside that one, and so on. The first couple are easy (about 45 minutes each). The last ones were a PITA (a day each). We would fasten the pipe with zip ties as we went, and get to the end, realize the pipe was either too long or too short, untie a bunch of pipe, and re-do it. Over, and over, and over...
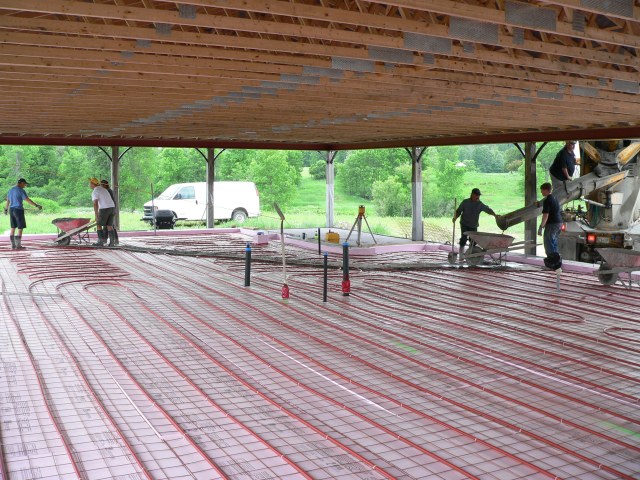
Here we are testing the pipes before pouring the concrete. The manifolds come from the supplier with a pressure guage and tire valve already installed. We pressurized the system to 50 pounds and monitored it for a few days. The pressure dropped and this allowed us to find a leak in the system (loose fitting). After that the pressure stayed at 50 lbs. We set the pressure in the pipes to 25 lbs during the concrete pour to help protect the pipe against crushing from feet and wheelbarrows.

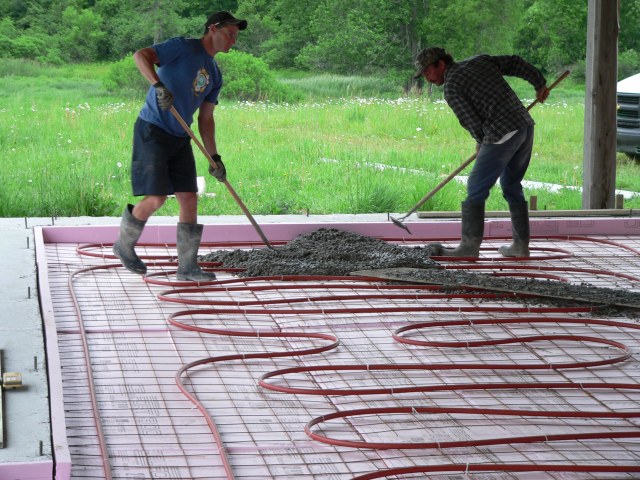
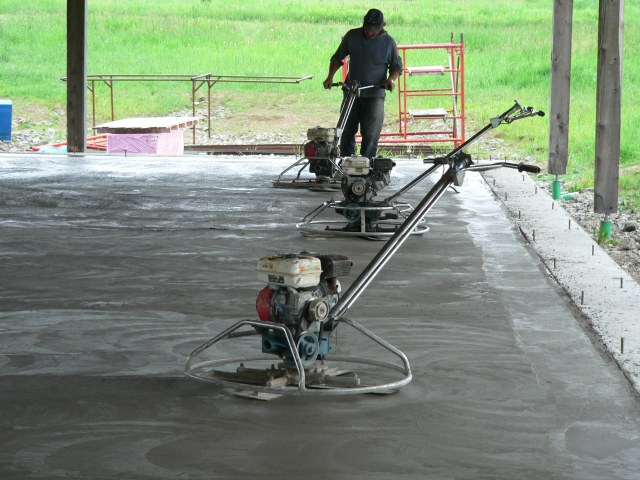
They actually poured our slab (about 39 cubic yards of concrete) with three guys with wheelbarrows, some plywood to drive the wheelbarrows on, and a couple of guys skreeding it out. One of the wheelbarrow guys was retired and did this for FUN!! Loose screw, if you ask me ;-)
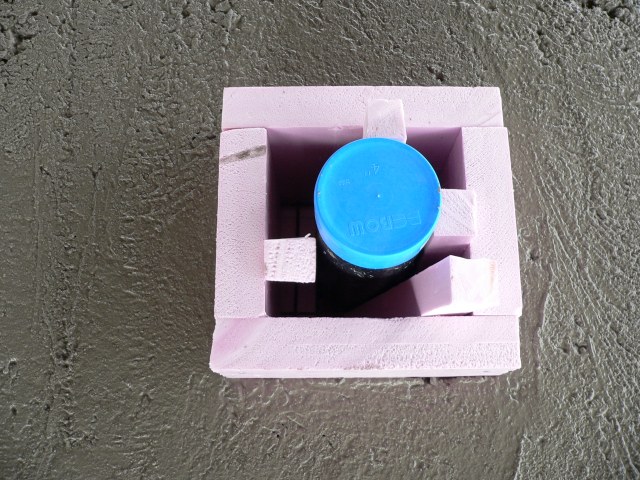
One of the building code items was there had to be a septic clean out just before the pipe under the slab left the house. This was in the middle of the floor of Linda's pottery studio. Not good. We decided to leave a 12"x12" hole in the concrete and put a tile over the hole. We just used some scrap 2" styrofoam to form the box.
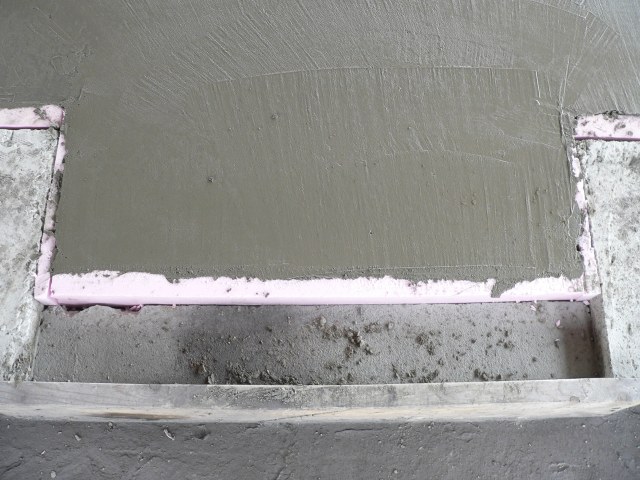
Here is the front door opening. We wanted to have the front sill flush with the inside floor, but also wanted to have a thermal break between the slab and the external perimeter wall. The door sits in the low spot near the bottom of the picture, and the sill plate of the door extends over the styrofoam.
Since we had decided to just stain and seal the floor rather than stamp it, we had the guys polish the concrete smooth. We asked them not to over do it (make it shiny) as that would prevent the stain from penetrating.
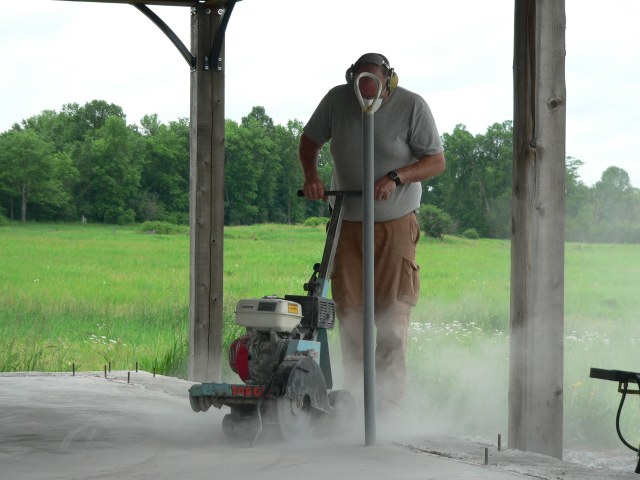
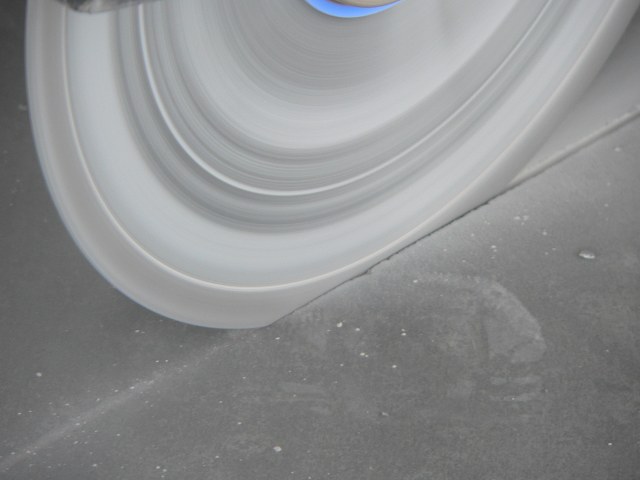
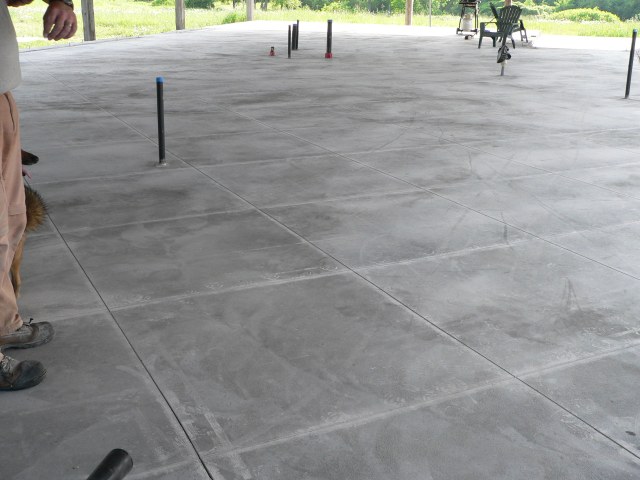
The solution we came up with for the look of our floor was to cut grooves in the concrete to both control cracks and to make the floor look like 4' tiles. To do this, we snapped chalk lines every 4' on a 45 degree angle (like those new Shreddies ;-) Then Mark used a tile saw to cut 1/2" deep grooves. Not strenuous work, but it did take 7 1/2 hours and caused the visibility in the local area to drop to about 10' with all of the concrete dust.
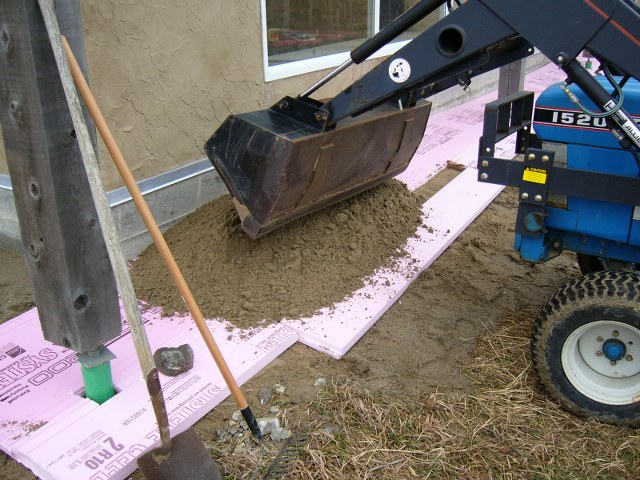
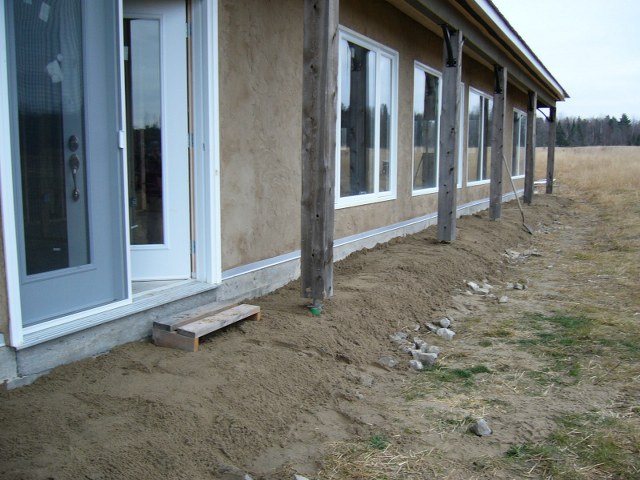
On a previous page we mentioned the "Frost Protected Shallow Foundation". In essence, this states that rather than go down below the frost line, you can insulate out perpendicular to the foundation wall an equal distance (a wing). This is what we did. We covered the styrofoam (did I mention that stuff is expensive?) with a layer of sand, and then later (no pictures) with 3/4" clear stone.