| |
House - Floor
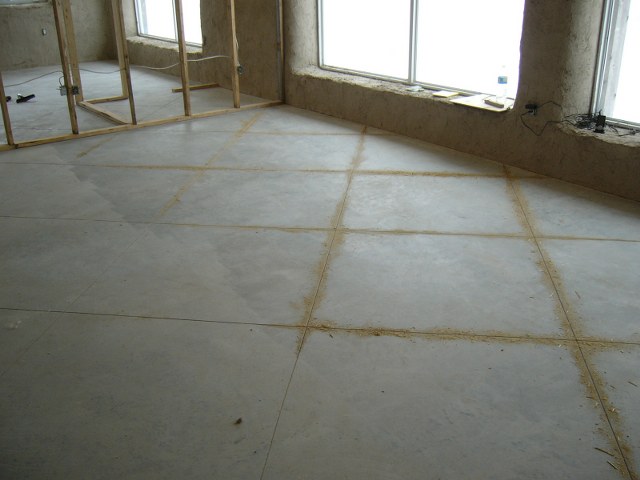
The first job (and it was a pain) was to clean out the grooves in the concrete. The grooves were filled with dirt, straw bits, and saw dust which needed to be emptied. We used a hack saw blade that we ran through the groove to loosen the crap that was in there, and then went around with a shop-vac to suck it up
We wanted a nice finish on the floor that would accentuate the tile look but we didn't want to use harsh chemicals/acids. We wanted something as mild and environmentally friendly as possible. We found (ok, Linda found) this product called Lasti Seal. It was reasonably priced, had lots of colour selection, and was something we could apply ourselves.
The company sells sample sized bottles so we bought 10 different colours and tested them on our utility room floor. We applied the 10 colours in one direction, let them dry, then applied them in the other direction. This allowed us to not only see what we got with two coats of the same colour, but also how the colours mixed.
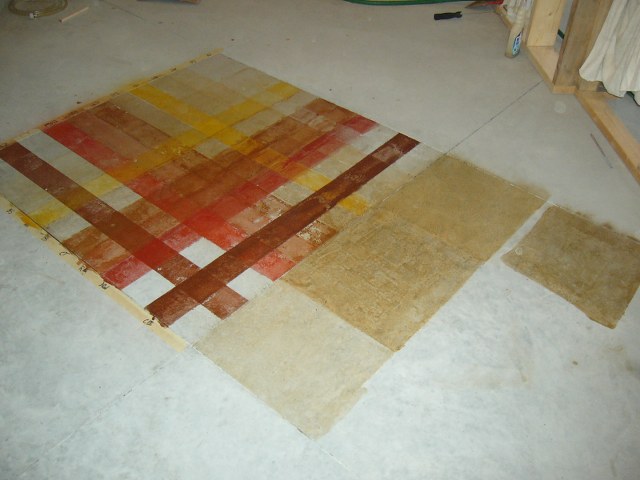
Turns out the colour we chose (Mocha Creme) was the second lightest colour and is in the square closest to the camera in the picture above.
To apply the finish to the floor is a four step process: 1.) Power wash the floor, 2.) Etch the concrete, 3.) Apply the colour, and 4.) Apply a satin clear coat
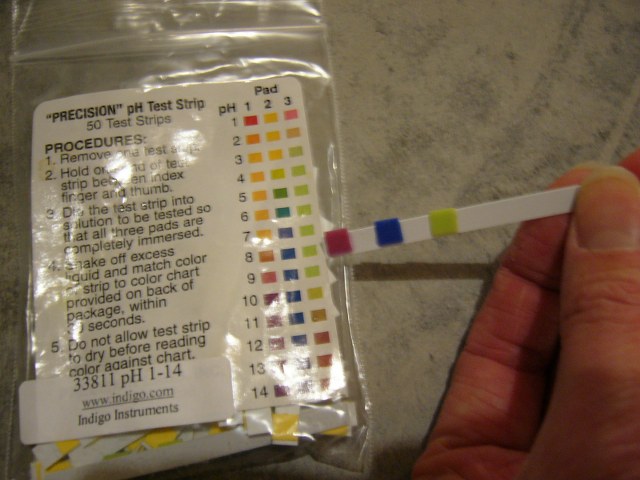
You need to etch the floor to get the pH in the right range so that when you apply the colour it isn't just burned off. To determine the pH of the floor (and thus how much etching you need to do) you get some concrete very wet, let the water sit for a couple of minutes, then dip a pH strip in the water and read the pH off the supplied chart. We need to be below 10 so the etching should be fairly simple.
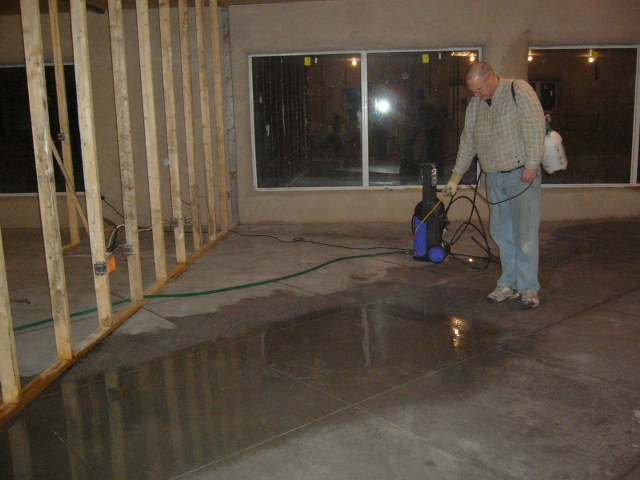
The first time we tried etching was a bit of a disaster. We tried to do the whole master bedroom at once. Bad idea. You can't keep the etch wet and it makes it hard to move around and get everything done. We eventually decided to do 4' wide strips the entire width of the house at a time. Here you see Mark applying the etch with a garden sprayer. We had just powerwashed the 4' strip, used the shop-vac to suck up the excess water, then applied the etch.
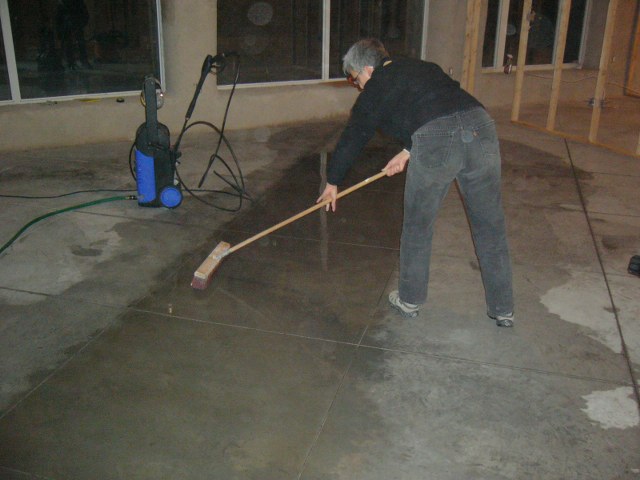
Once the etch is on, you need to use a stiff broom to rub the etch into the concrete.
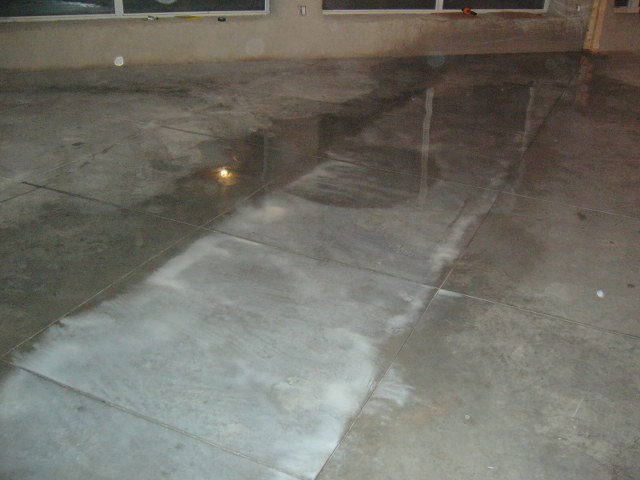
The trick now is to keep the etch wet, do not let it dry out. We let it sit 15 minutes, during which the efferescence appears showing that the etch is working.
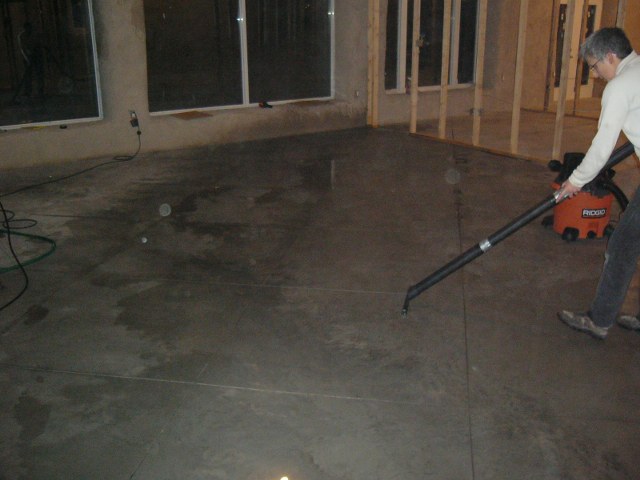
You then suck up the efferescence with the shop-vac...
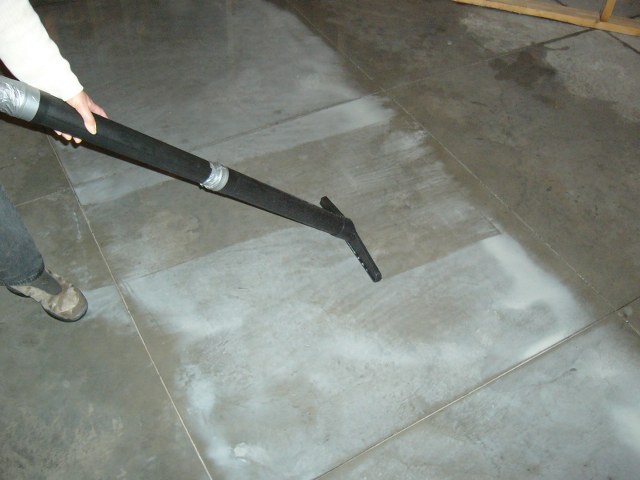
...powerwash it again, and suck that up
That whole wash/etch process took about four weeks or so of evenings and weekends. Then you get to put colour on. That takes two hours for the ENTIRE house. We put two coats on (again, using the garden sprayer) then two coats of clear.

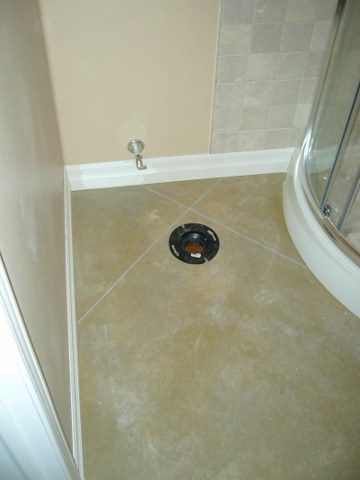
Here is a shot of where the toilet in the guest bath goes. It does a pretty good job of showing the grout that Linda put in by hand (took her a couple of weeks work to do the whole house) as well as the colour of the stain.