| |
House - Plaster 1
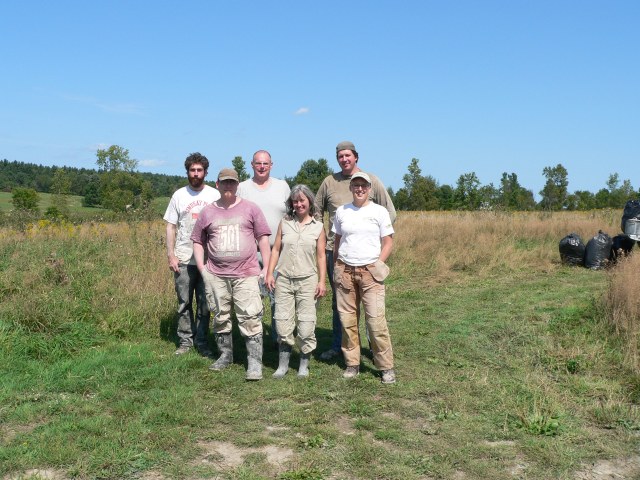
Tina worked the Putzmeister all day, every day, lifting 50 lbs bags of clay, shovelling sand, etc. She's a machine !
The first day we worked on the "scratch" coat of plaster on the outside of the house. First we used a stucco gun (like for stucco ceilings) to spray soupy clay all over the walls. Then we hand bombed (troweled) a layer of clay over the entire house. Keep in mind the house is 86' long and 39' deep, with 9 1/2' high walls. That's a lot of clay!
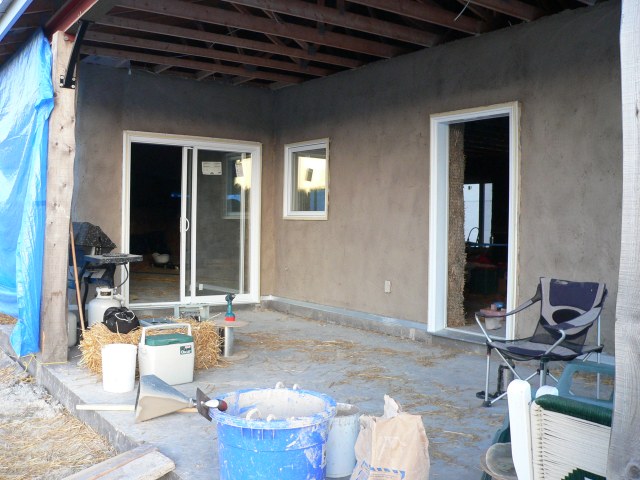
Here is a shot of the patio area. It was hard to get decent pictures as the entire house was wrapped in tarps. This was the only area that was sufficiently deep that we could leave it untarped and still have it protected from rain.
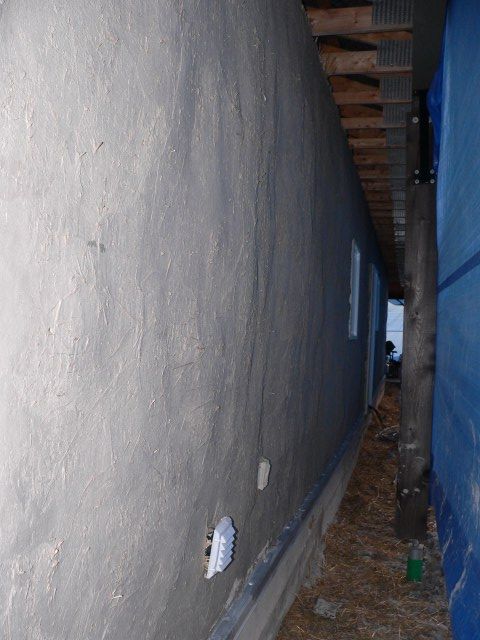
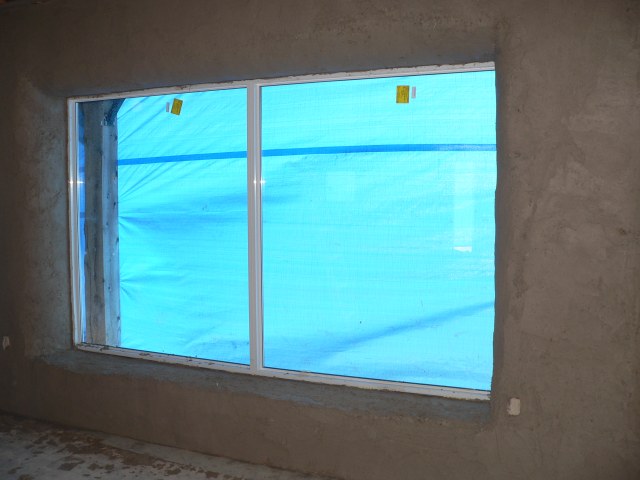
Here is one of the exterior wall behind the tarp. It was very tight quarters working behind the tarp, and the tarp tended to trap the humidity and heat. Nasty...
Amazingly, we did the entire outside of the house in one day (a very, very, .... very long day). However, there was still another coat (the infill coat) to go on once that dried. That would be the following week, so the next day we began the interior.
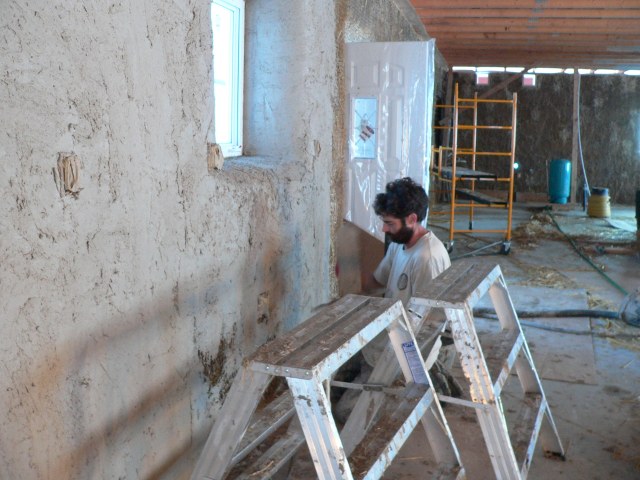
Normally there would be three coats of plaster: scratch (or discovery), infill, and finish. We had done some experiments in the garage and discovered that, at least on the inside of the house, we could get away without a scratch coat. We used a super heavy coat of clay slip (the soupy stuff) which was more than sufficient to allow us to just put on the thicker infill coat and save a step. Here is Mike working on the infill coat.
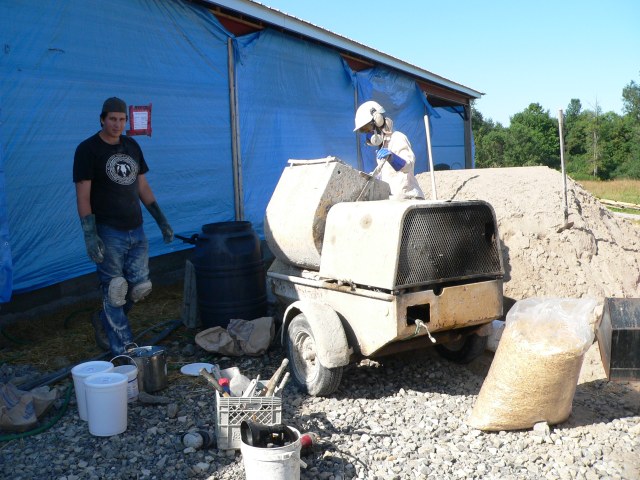
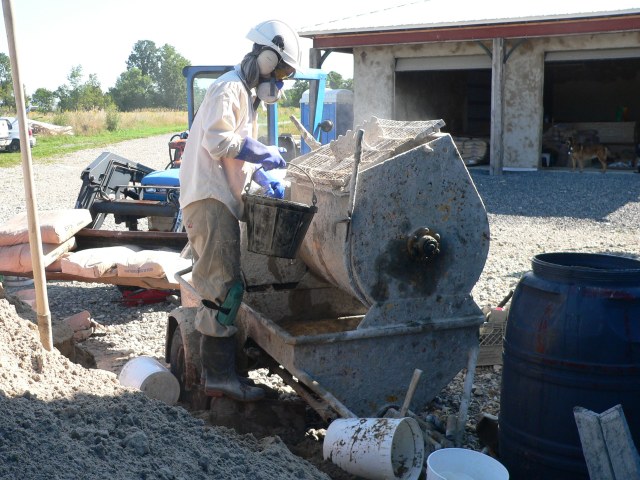
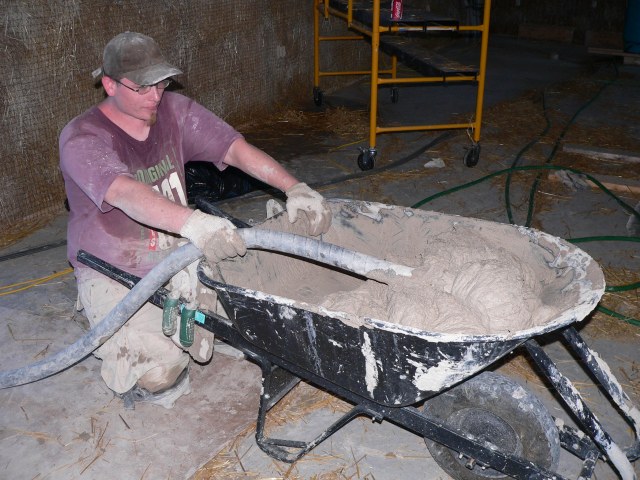
We had tried pumping the clay plaster through the hose and power trowel on the Putzmeister, but the plaster was waaaayyyyy too thick. The best we could do was get the plaster through the hose into wheelbarrows and rubber buckets. here is Jake filling a wheelbarrow with plaster.
We started plastering near the front entry door and worked counter-clockwise through the kitchen and the rest of the house. Once we had the kitchen wall covered, we just HAD to take a picture. This is where Mike was plastering in the picture above.

Here is a shot of Linda plastering in the (future) dining room around our "Truth Window". Just in case someone doesn't believe that the house is made of straw, this framed bit with glass in it will prove them wrong.

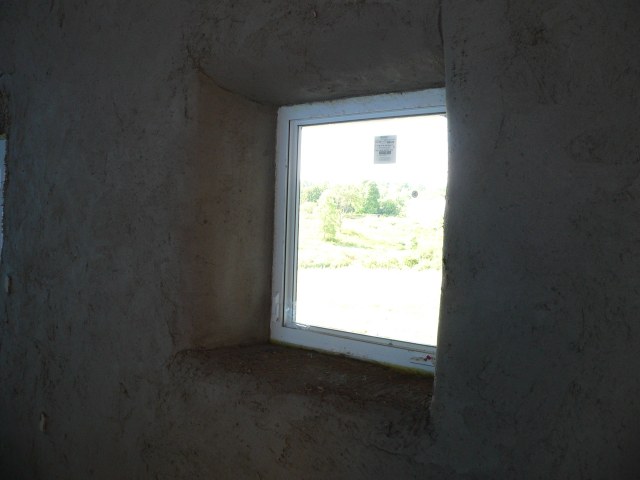
This is Mike working around one of our monster sized windows. Plastering around windows is time consuming and finnicky.
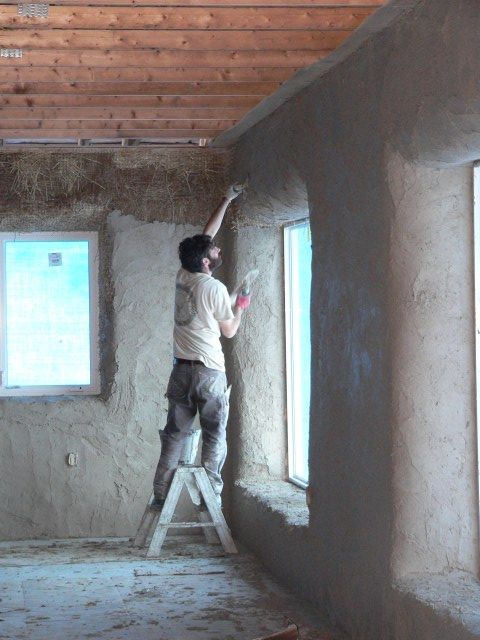
However, when done right, it looks awesome.
This is another example of a window, but smaller.
So the first coat on the outside of the house took one day. The infill coat on the inside of the house took two days. the crew all went home and came back the following week to put the infill coat on the outside of the house, That also took two days although we didn't take any pictures except this one (I'm not sure Tina is fully grown yet ;-).