| |
House - Plaster 2
Here are the recipes WE used for OUR house. We have put them here for information purposes only. Use them at your own risk, because although they worked well for us, we cannot guarantee that they will work for you.
Link to plaster and wheat paste recipes.
We'll show you how we make the finish plaster for the inside of the house here.
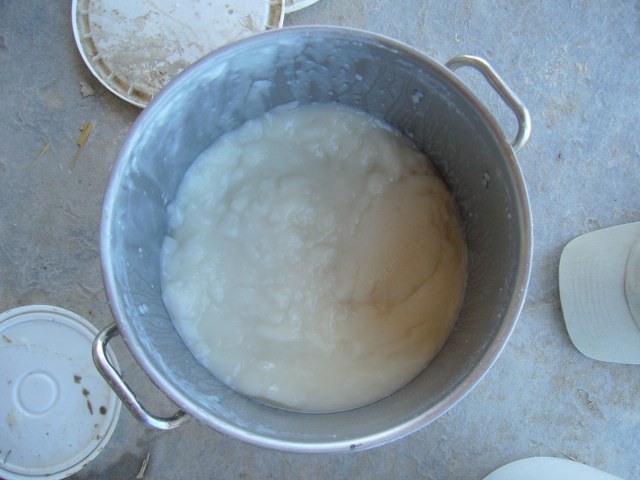
First, make sure you have your wheat paste made and available. It looks kind of gross, but it provides a lot of rigidity and water resistance to the clay plaster.
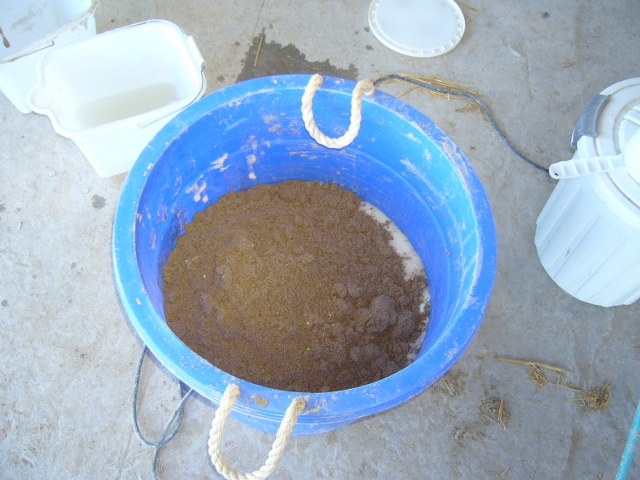
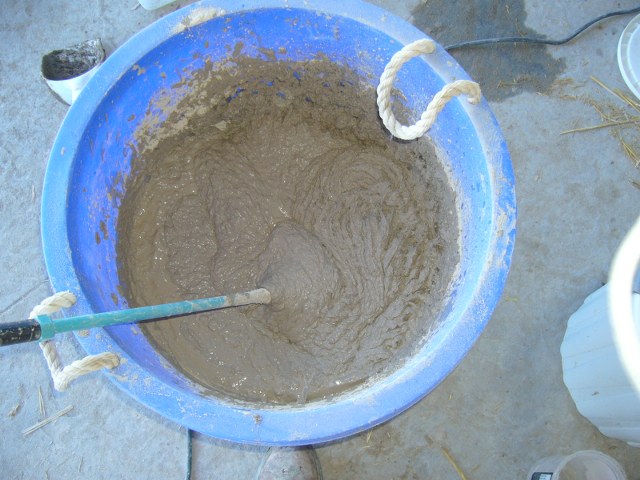
Dump the wheat paste into a large bucket. Here we have used a big, blue wash basin. Add the required amount of sand.
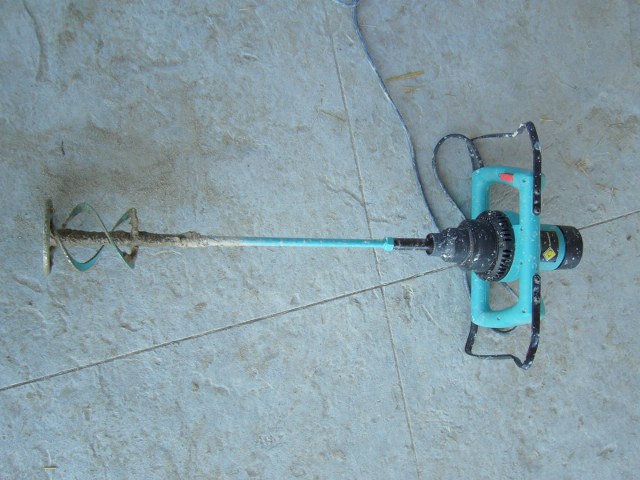
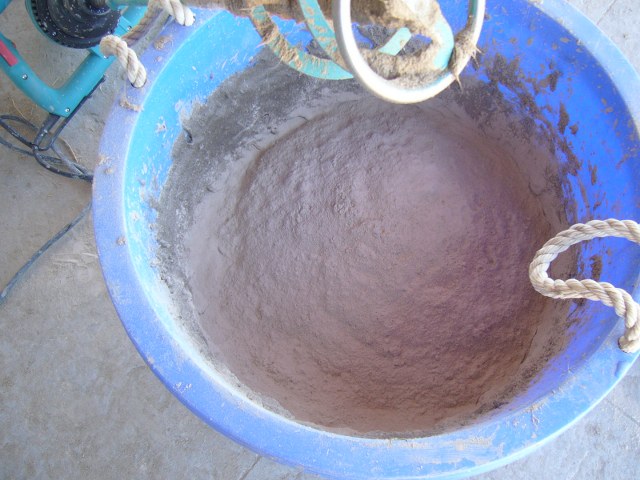
This is the mixer we use for finish plaster. We had previously used a big drill with a paint mixer at the end, but once we smelled something overheating, we knew we needed a better tool, so we found this on the Home Depot web site.
Mix the wheat paste and sand really well.

Once the sand and wheat paste are ready, you'll need to add the cat tails. We picked enough cat tails on the side of the road for the whole house in 15 or 20 minutes (this is just some of them).

Don't just fire the cat tails in the plaster, it will be just a bit lumpy :-) Open the cat tail and spread the resulting fluff around the plaster. This fiber will provide a lot of strength and anti-cracking capability to the plaster. Make sure to spread some of the sand mixture overtop of the fluff before the next step, otherwise there willbe fluff EVERYWHERE..

Mix the fluff into the sand mixture
Now, before you start messing around with powdered clay, put on a mask. You do not want to get powdered clay into your lungs.

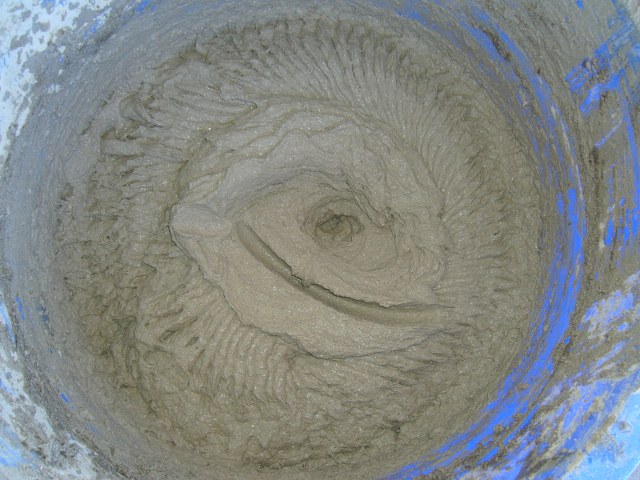
Now, dump in your clay and start mixing. Add water as you go to make the mixture smooth but not soupy.
You'll have to be careful doing this as it is easy to get too much water. The consistency you are looking for is like hummus (Mmmmm....hummus....). Running your finger through it should leave a trail.
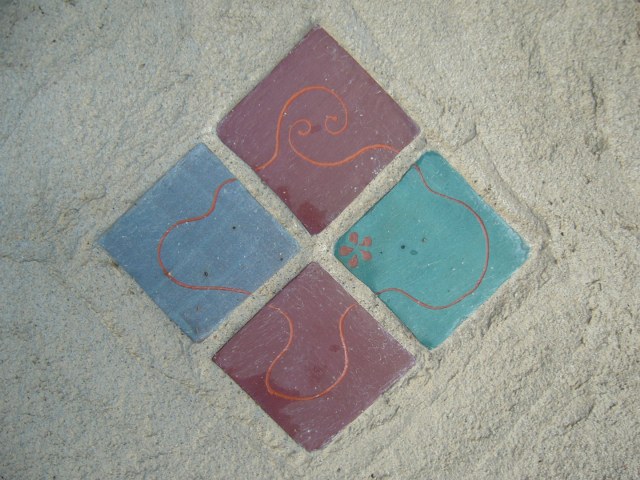
As you are probably aware (if you have read other parts of this site), Linda is a amateur potter. She made various sized colourful tiles that we are embedding randomly in the plaster on the outside of the house. Here are the tiles glued to the infill coat (you can see the chopped straw in the plaster) but before the finish coat.
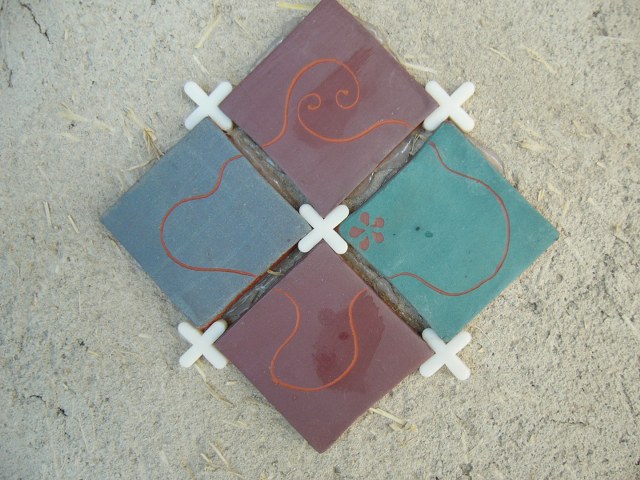
And here they are with the spacers removed and the finish plaster on. You can see the consistecy of the plaster in this shot. You'll see later on this site that not only can you use this plaster on the straw, you can apply it to regular dry wall as well.