|
|
Bales - Part 2
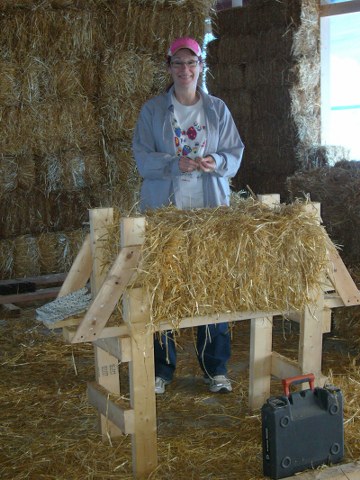
Inaugural house bale with the obligatory picture
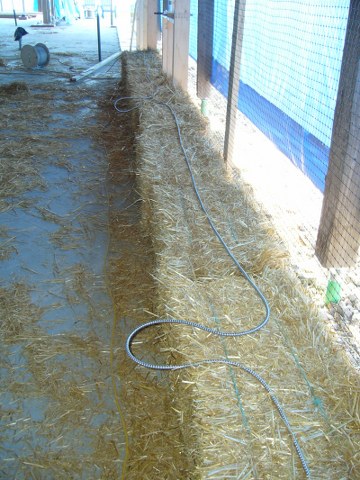
During your first course, make sure you run your electrical. Some inspectors want conduit, some don't care. Ours wanted armoured cable, so that's what we used.
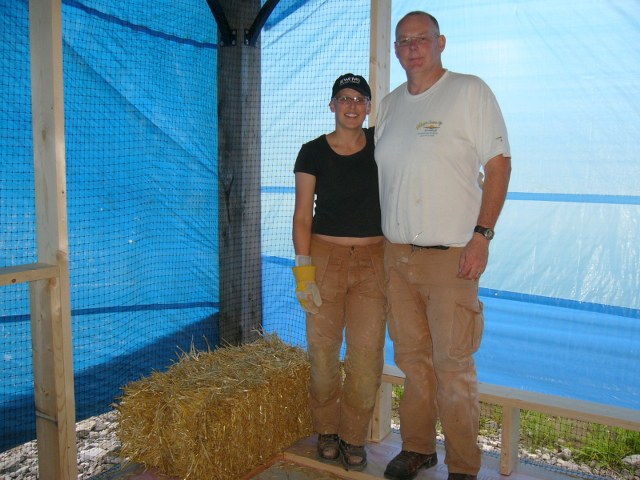
We managed to sucker a bunch of friends into helping out with bale stacking, but unfortuately we didn't get pictures of all of them. I guess these will be the only famous ones ;-)
Here Corry (left) and Chris(right) are working on the bales around the kitchen window and front door.
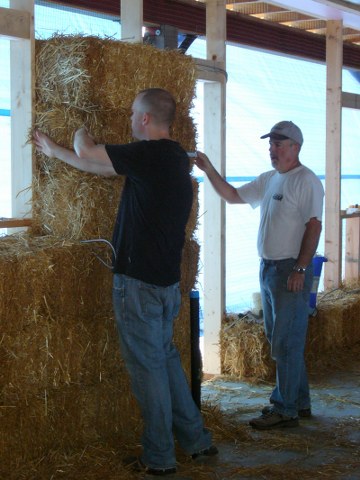
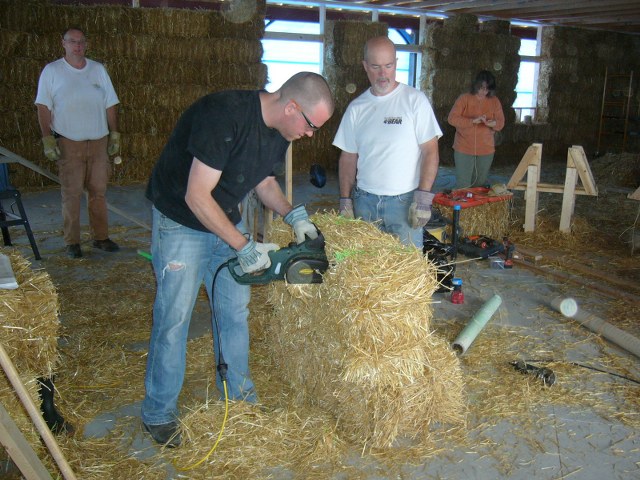
Now, the bales are fairly tight, so they aren't loose enough to just fit around the supports for windows ands doors. That means grooves have to be cut in them somehow. We would put the bale up against the supports, then mark where the grooves have to go with a spray can of construction paint (you can just make out the bright green in the pic below). Then you use an electric chain saw to carve out the groove.
It is impossible to make the height and/or width of any opening exactly right such that your bales fit perfectly. In fact, we needed to make about 150 mini bales to go around the top of all of the walls. We made a Bale Manufacturing Jig that our friend Gina manned (womaned?) for us. You peel off flakes of straw from the end of a full bale and put them in the jig. Jam them in to make it tight, then wrap baler twine around it and you're done.
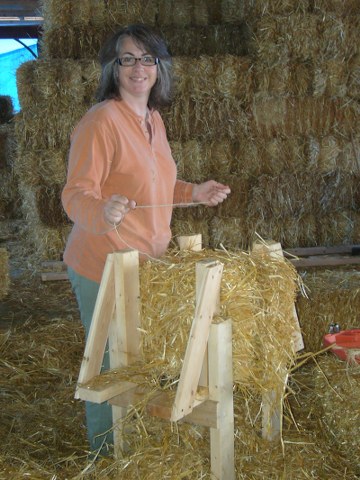
Of course, no sooner did Mark build this thing when he realized we'd need all diffrerent sizes of bales for the ends of walls, door and window openings, etc. So he built an adjustable one that had dimension markings right on it. You measure the length of bale you need, set the arms up on the jig with clamps, jam in the straw and tie it off. Here Karin is making bales to go overtop of the living room windows.
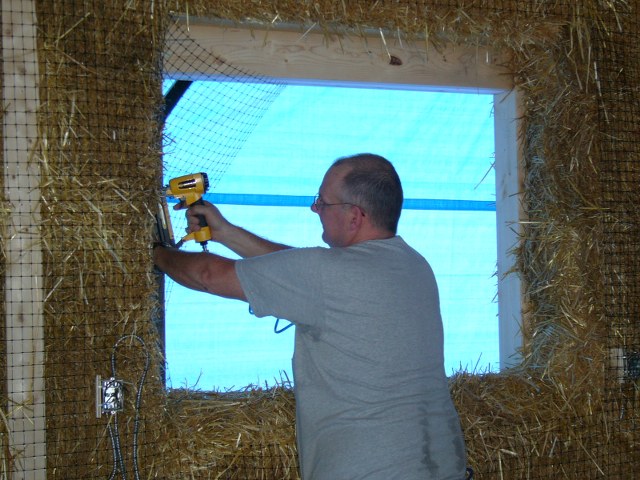
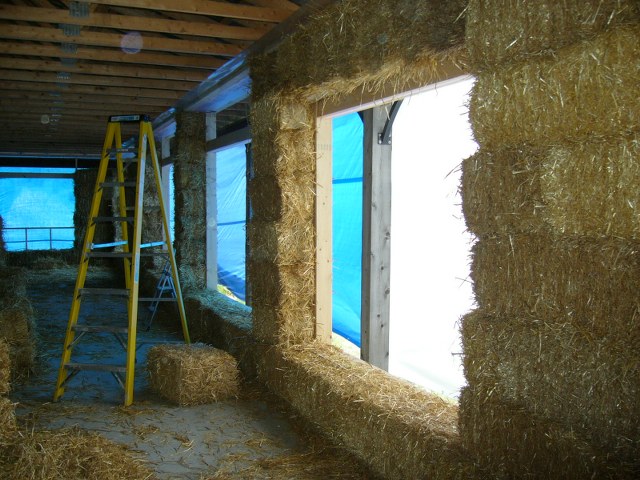
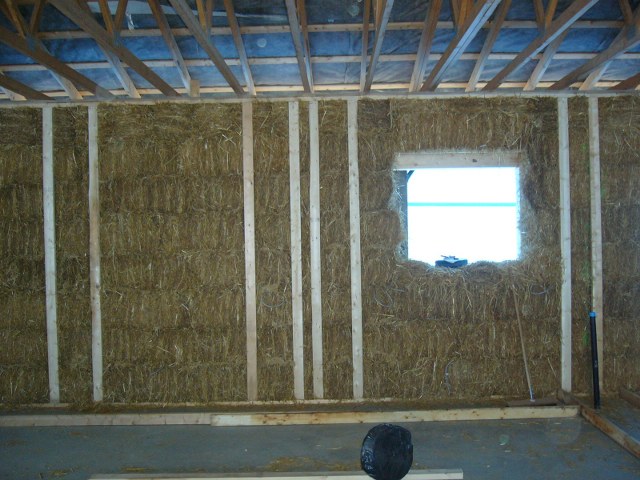
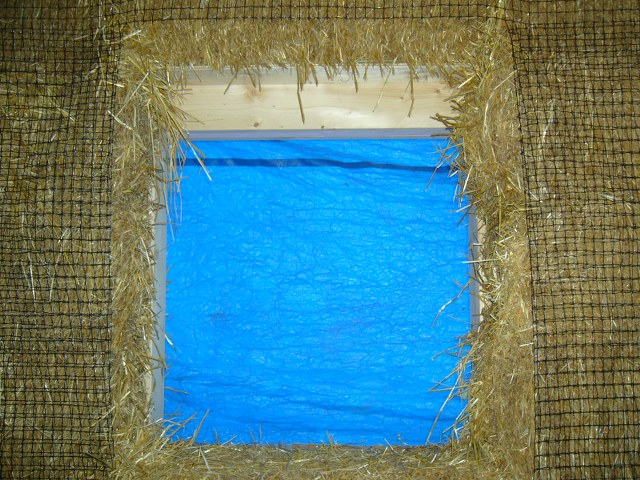
Here Mark is putting up a plywood platform that the bales over the windows will sit on.
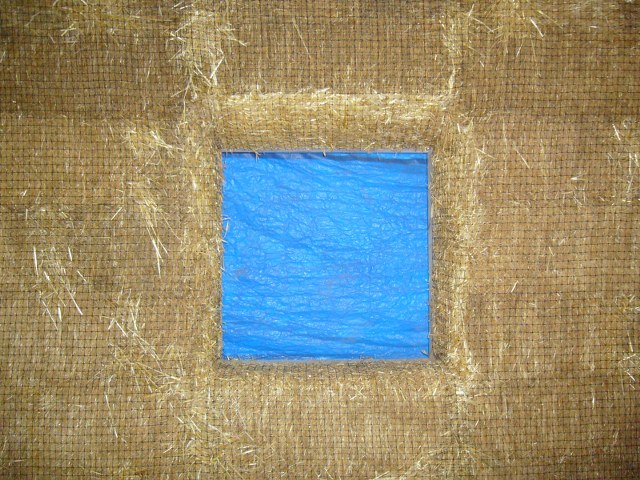
And here is what it looks like with the bales installed over the window.
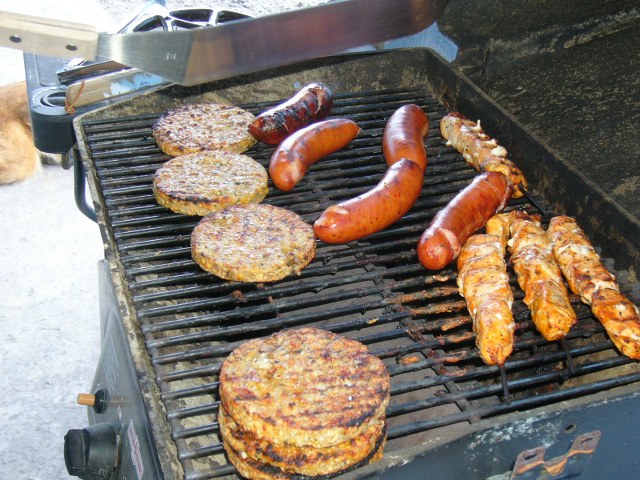
Of course, unless you feed people, they stop working...
And so how does one mount heavy kitchen cabinets on a straw bale wall? You insert 2x4 posts into the straw and nail them top and bottom. Also make sure you measure exactly where they are because once you plaster them, you can't see them any more.
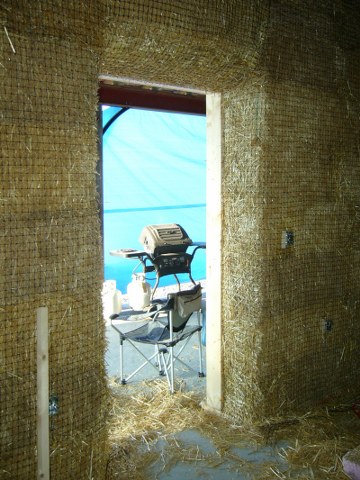
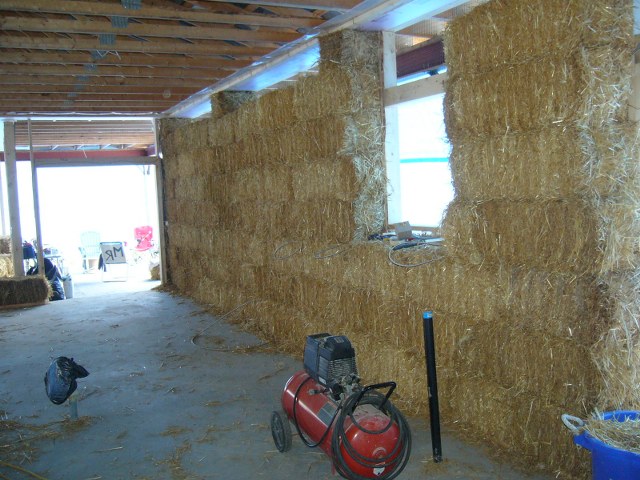
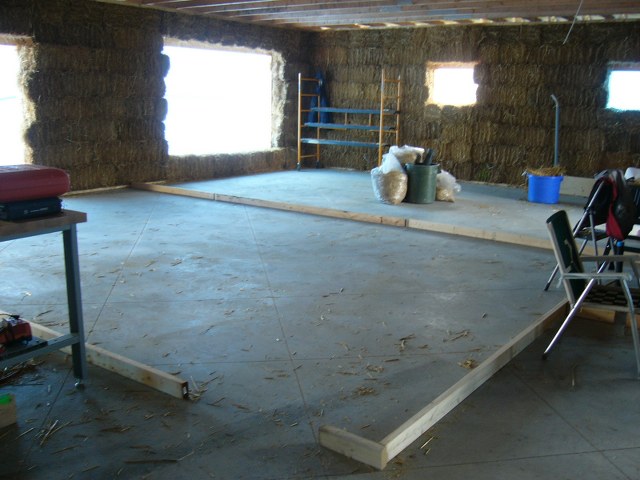
Here are a few shots of the walls all erected.
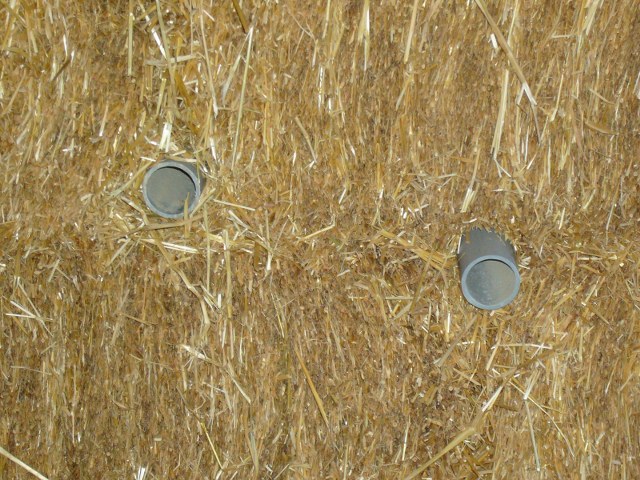
You'll need to put hose bibs outside for hoses, and possibly bring propane or oil into the house. We accomplished this by insert some 2" PVC pipe.
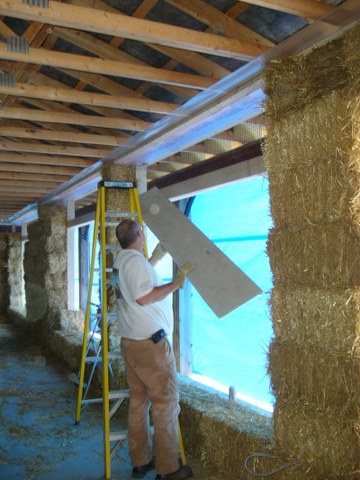
Now comes the fiddly bit. You need to trim the straw smooth on the inside and carve/sculpt all of the window and door openings. The first part of that is done with a Lancelot cutter on a grinder.
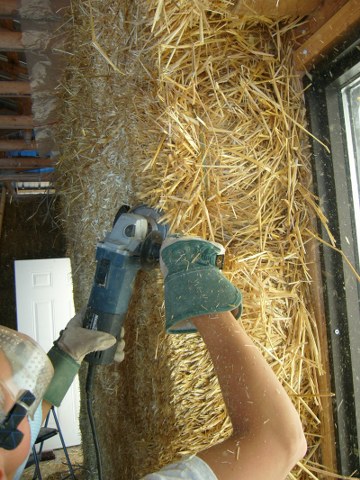
To sculpt a window or door opening you need to round over the opening with the Lancelot. Once all of the openings are sculpted as much as possible, you need to put the Tenax mesh on the inside of the house the same way as you did on the outside. There is a whole bit on stitching the Tenax to the bales in the garage section.
You then cut the openings where the windows and doors go leaving flaps of Tenax to be used for rounding the edges off. You carefully pull the Tenax tight and staple it to the frame, stuffing with loose straw as you go. The trick is to make it tight but with a nice curve.