| |
House - Interior
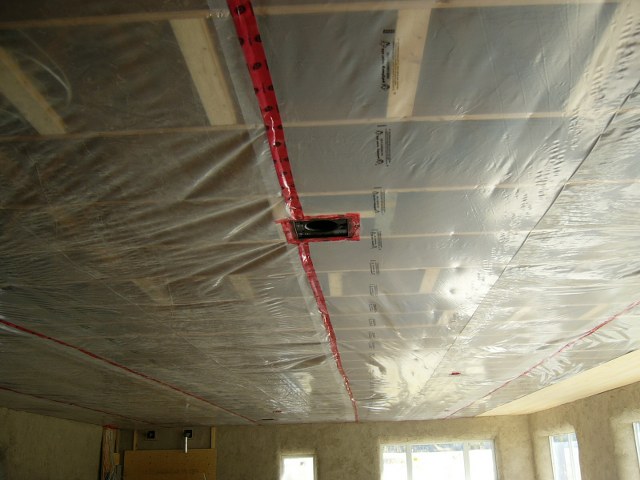
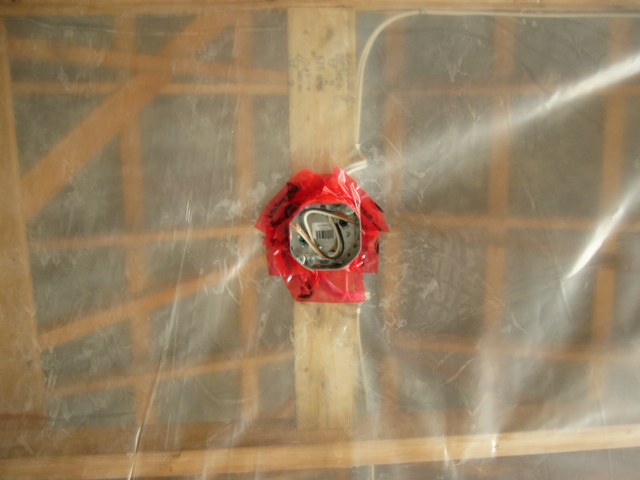
Once we were all sealed in, but before we turned the heat on, we needed to do the ceiling. First you need to ensure your electrical boxes and the like are installed, then you need to put up vapour barrier. Make sure to use Tuck Tape around every box and to attach each strip of vapour barrier to the next. This will keep the heat in and prevent vapour from escaping into your insulation in the attic and causing mold.
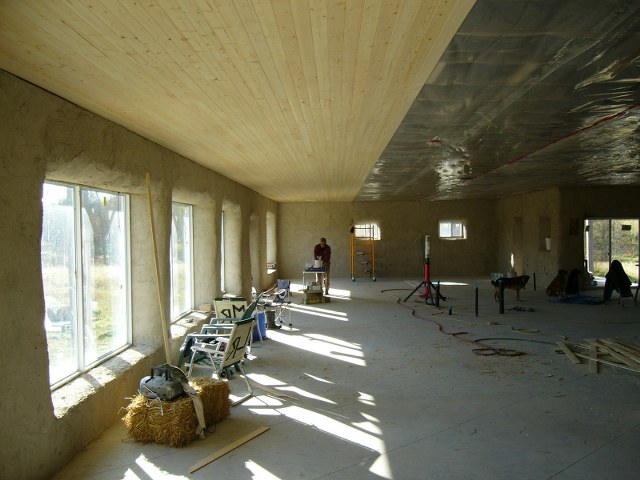
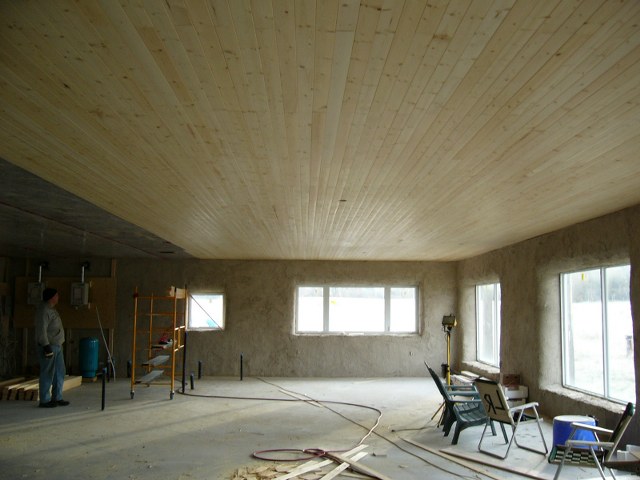
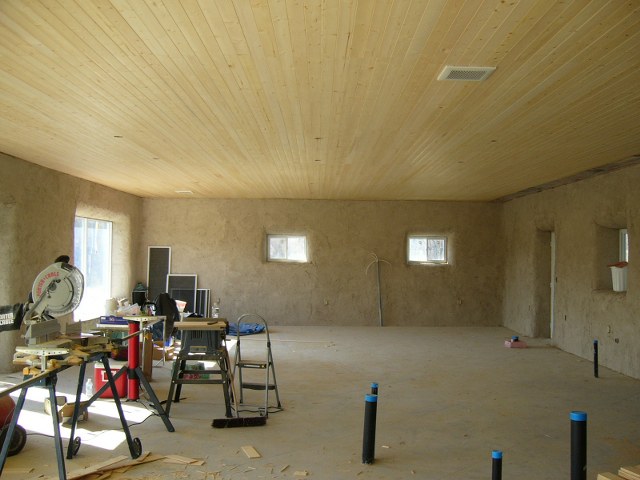
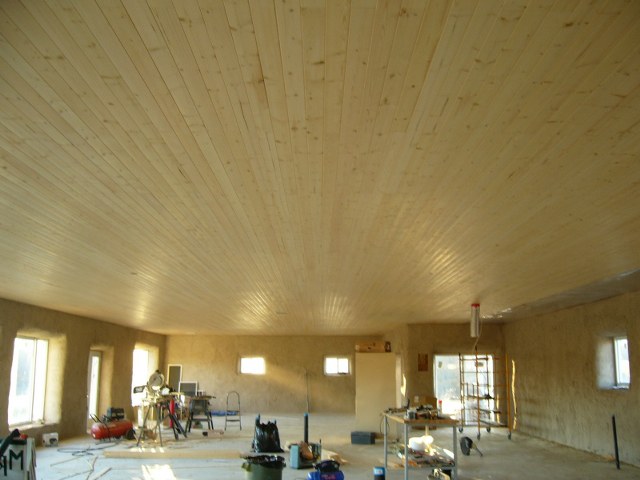
Once that is done (and signed off by the building inspector) you can put up your ceiling material. We wanted a wood ceiling, but didn't want to spend thousands of dollars. We found some pine wainscotting at Home Depot that would do the trick. Each pack contained 14 sq ft. We had 2900 sq ft of ceiling, thus we ordered 207 packages (man, did they ever give us funny looks at the store).
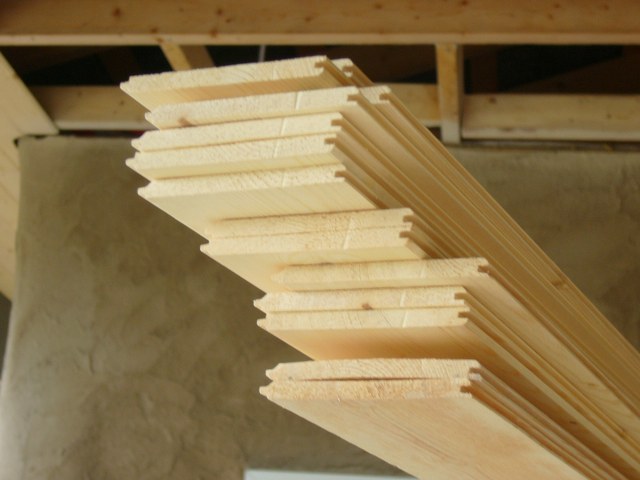
Each board is 3 1/2" wide. We discovered that you could only really do a single row at a time as you had to stagger the boards (otherwise you wind up with an ugly line of board joints). The ceiling in the house is 9 1/2' high, so we needed a scaffolding to install the boards. In the end, the way it worked was we would position the scaffold, put the board up, brad nail it place, one person would go down on to the floor, push the scaffold 8', climb back up the scaffold, brad nail the board...
Each row took nine boards, so someone was up and down the scaffold nine times per row. there are 148 rows across the house. We were up and down the scaffold over 1300 times.
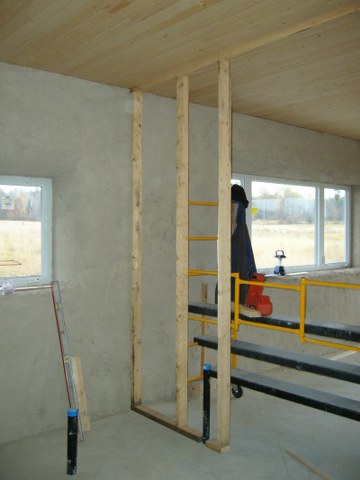
Next came the interior walls. We designed the house so that there are no load bearing walls inside. This meant we could put them anywhere we wanted, the only issue being where pipes come up through the floor for plumbing. We started by laying out the sill plates and glueing then RAMSETting them down.
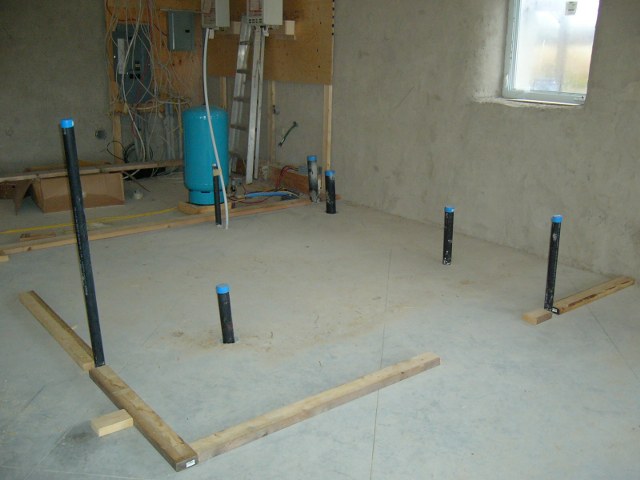

Once all of the sill plates were down, we could install the top plates and start putting up the verticals.
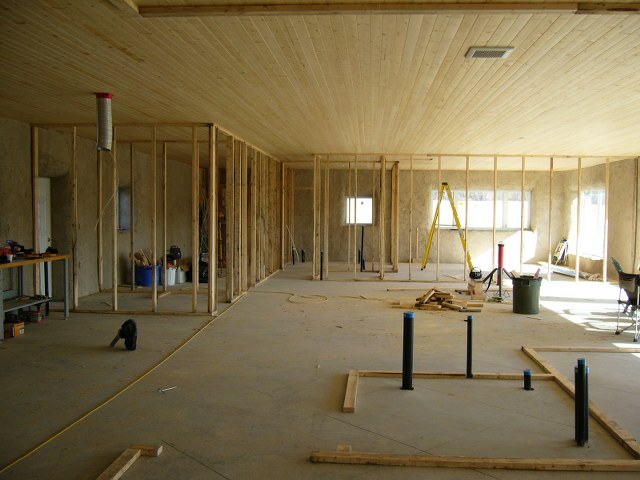
This is where it starts to get a little exciting. You can begin to get an appreciation of how the house is going to feel, and how big the rooms REALLY are (as opposed to trying to imagine it from a drawing.)
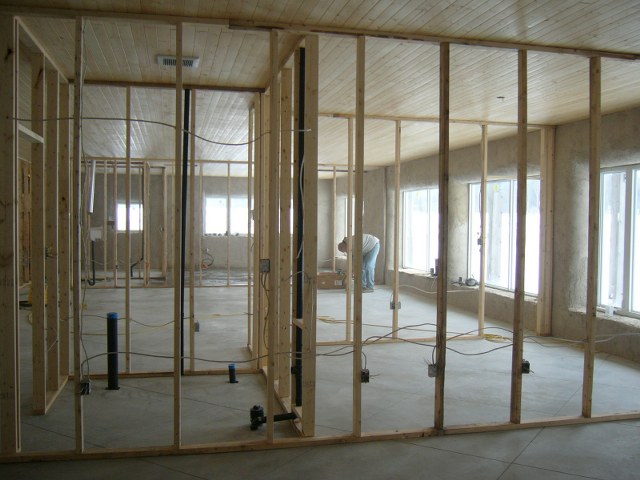
And then you are ready for drywalling. We won't cover that in any detail (it is boring as heck) but we will show that we used Roxul in every internal wall. This didn't add much to the cost of the house (<$1000) but it deadens the sound in the house so it doesn't echo and it is fire proof, being made from minerals, not fibreglass. (Oh yeah, the large 2x6 cross braces in the picture below are for the flat screen TV mount.)
