|
|
Knee Braces & Top Plate
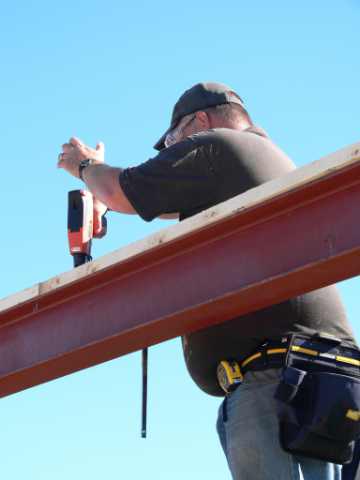
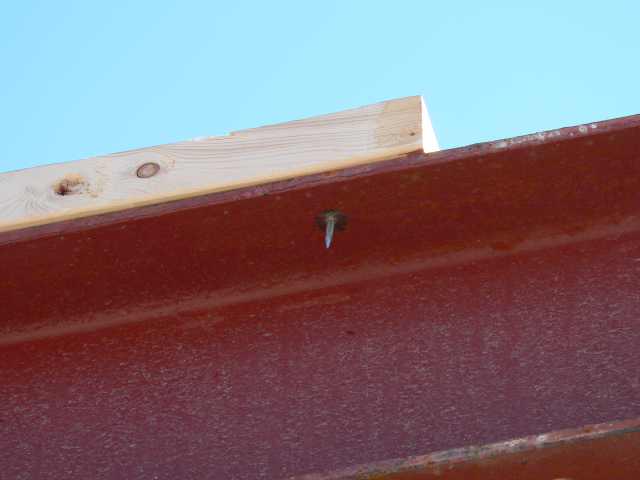
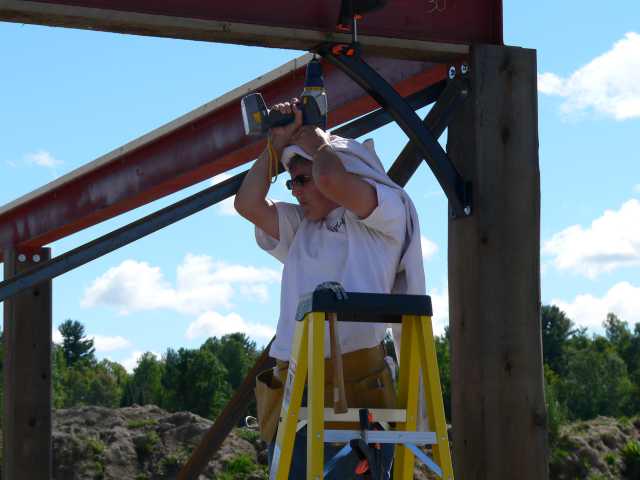
Then we attached cedar to the bottom of the I-beam. Unlike the top plate, the cedar is cosmetic. Eventually the I-beam will be completely encased in cedar. It was too difficult to use the ramset upwards through the I-beam, so instead we drilled holes and attached the cedar using self-tapping screws. Drilling the hole was difficult, and metal shavings rained down - ergo the sweatshirt over my head!
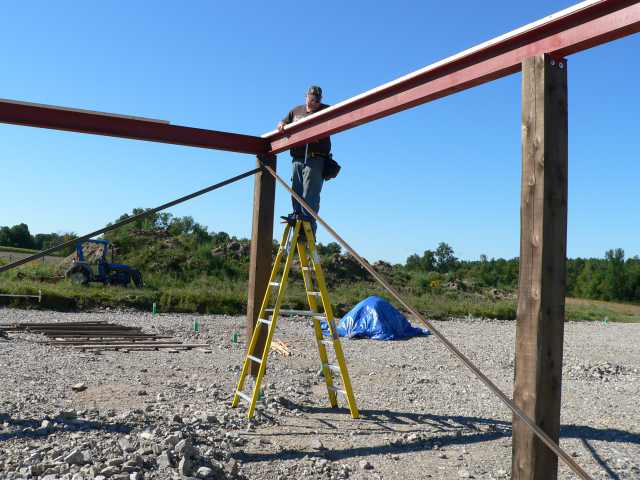
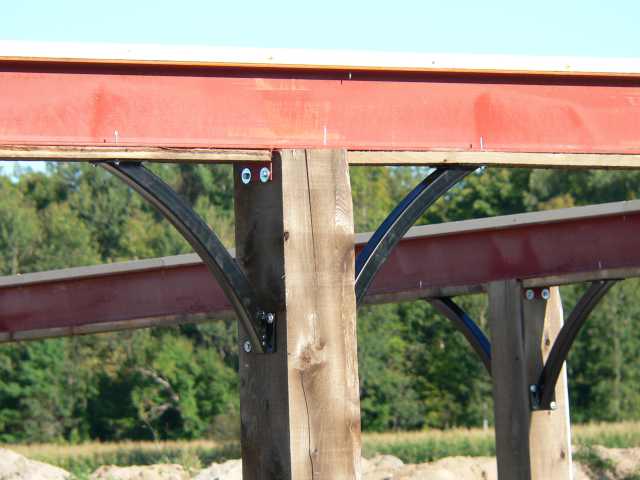
Once the cedar was attached, we could install the knee braces:

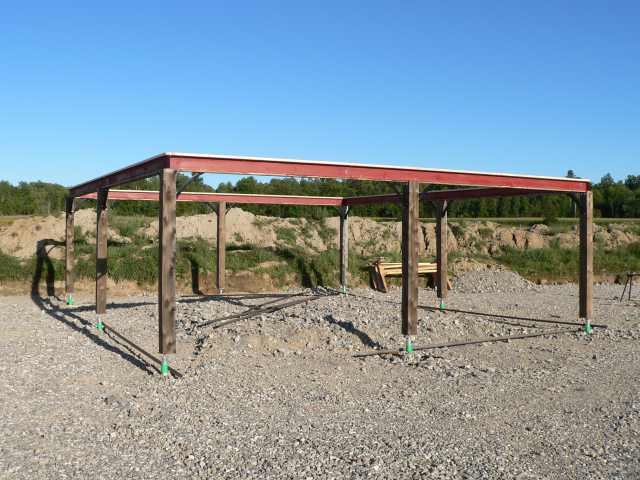
End of the day: